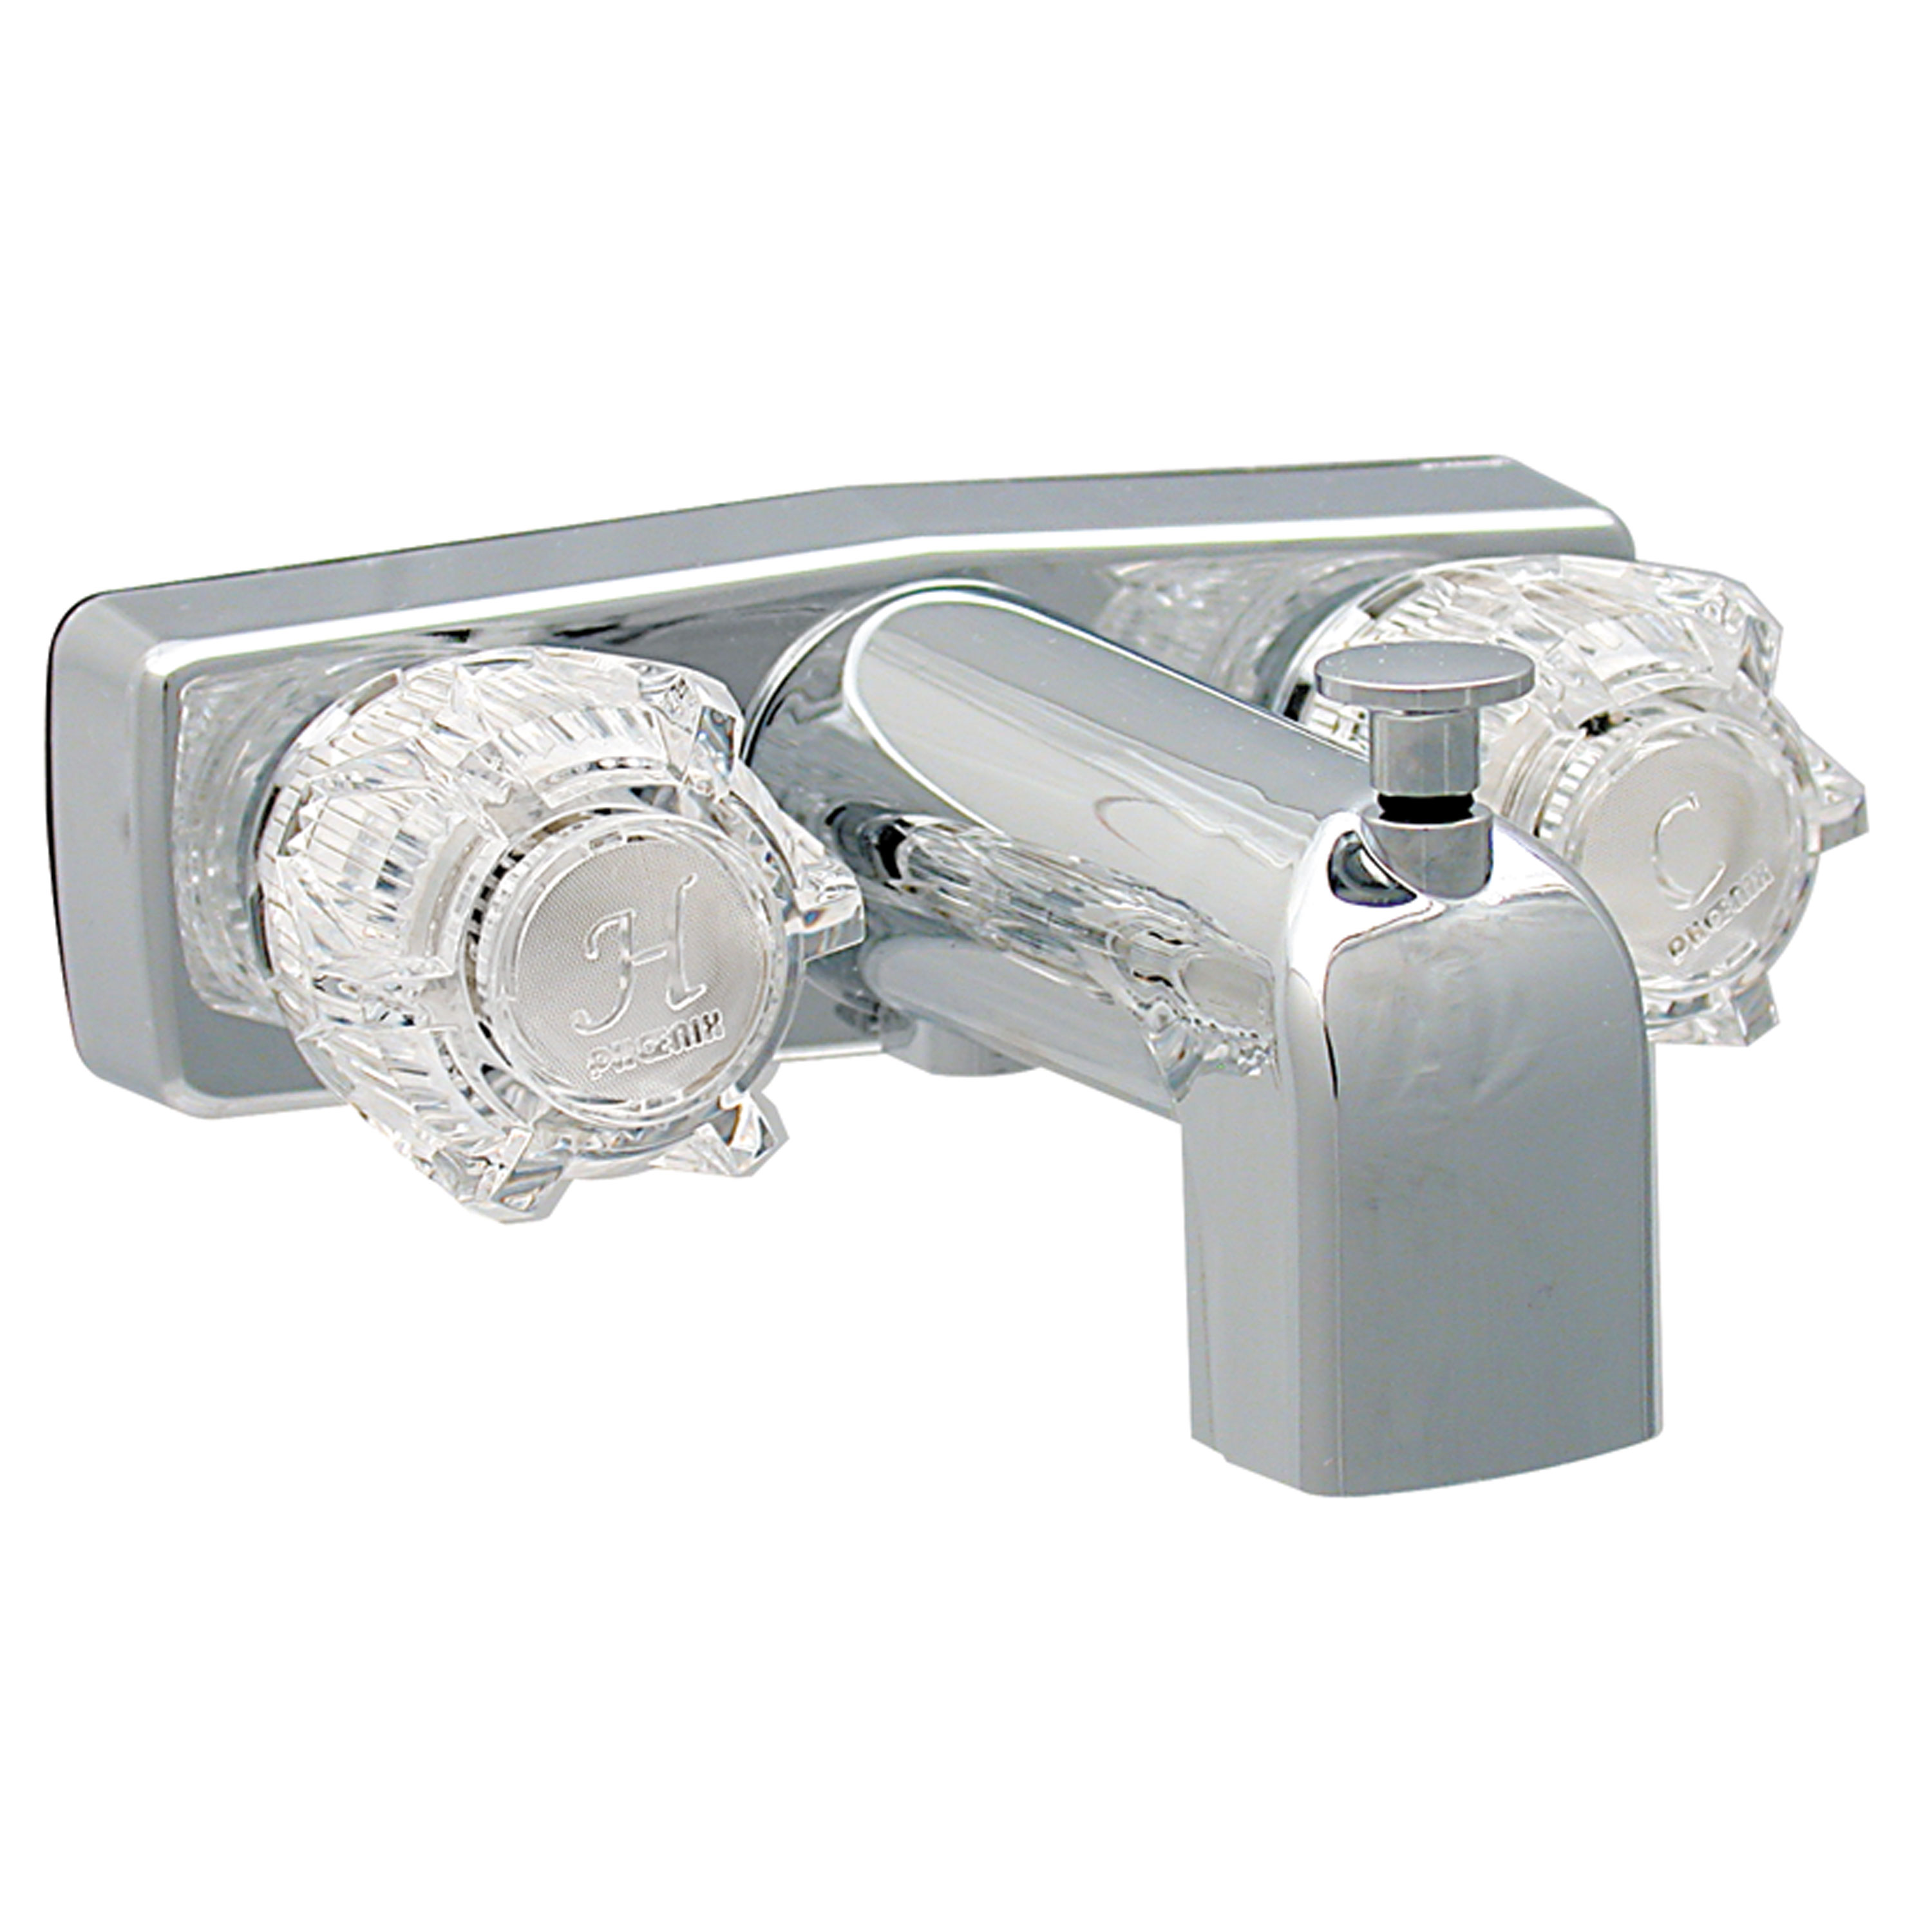
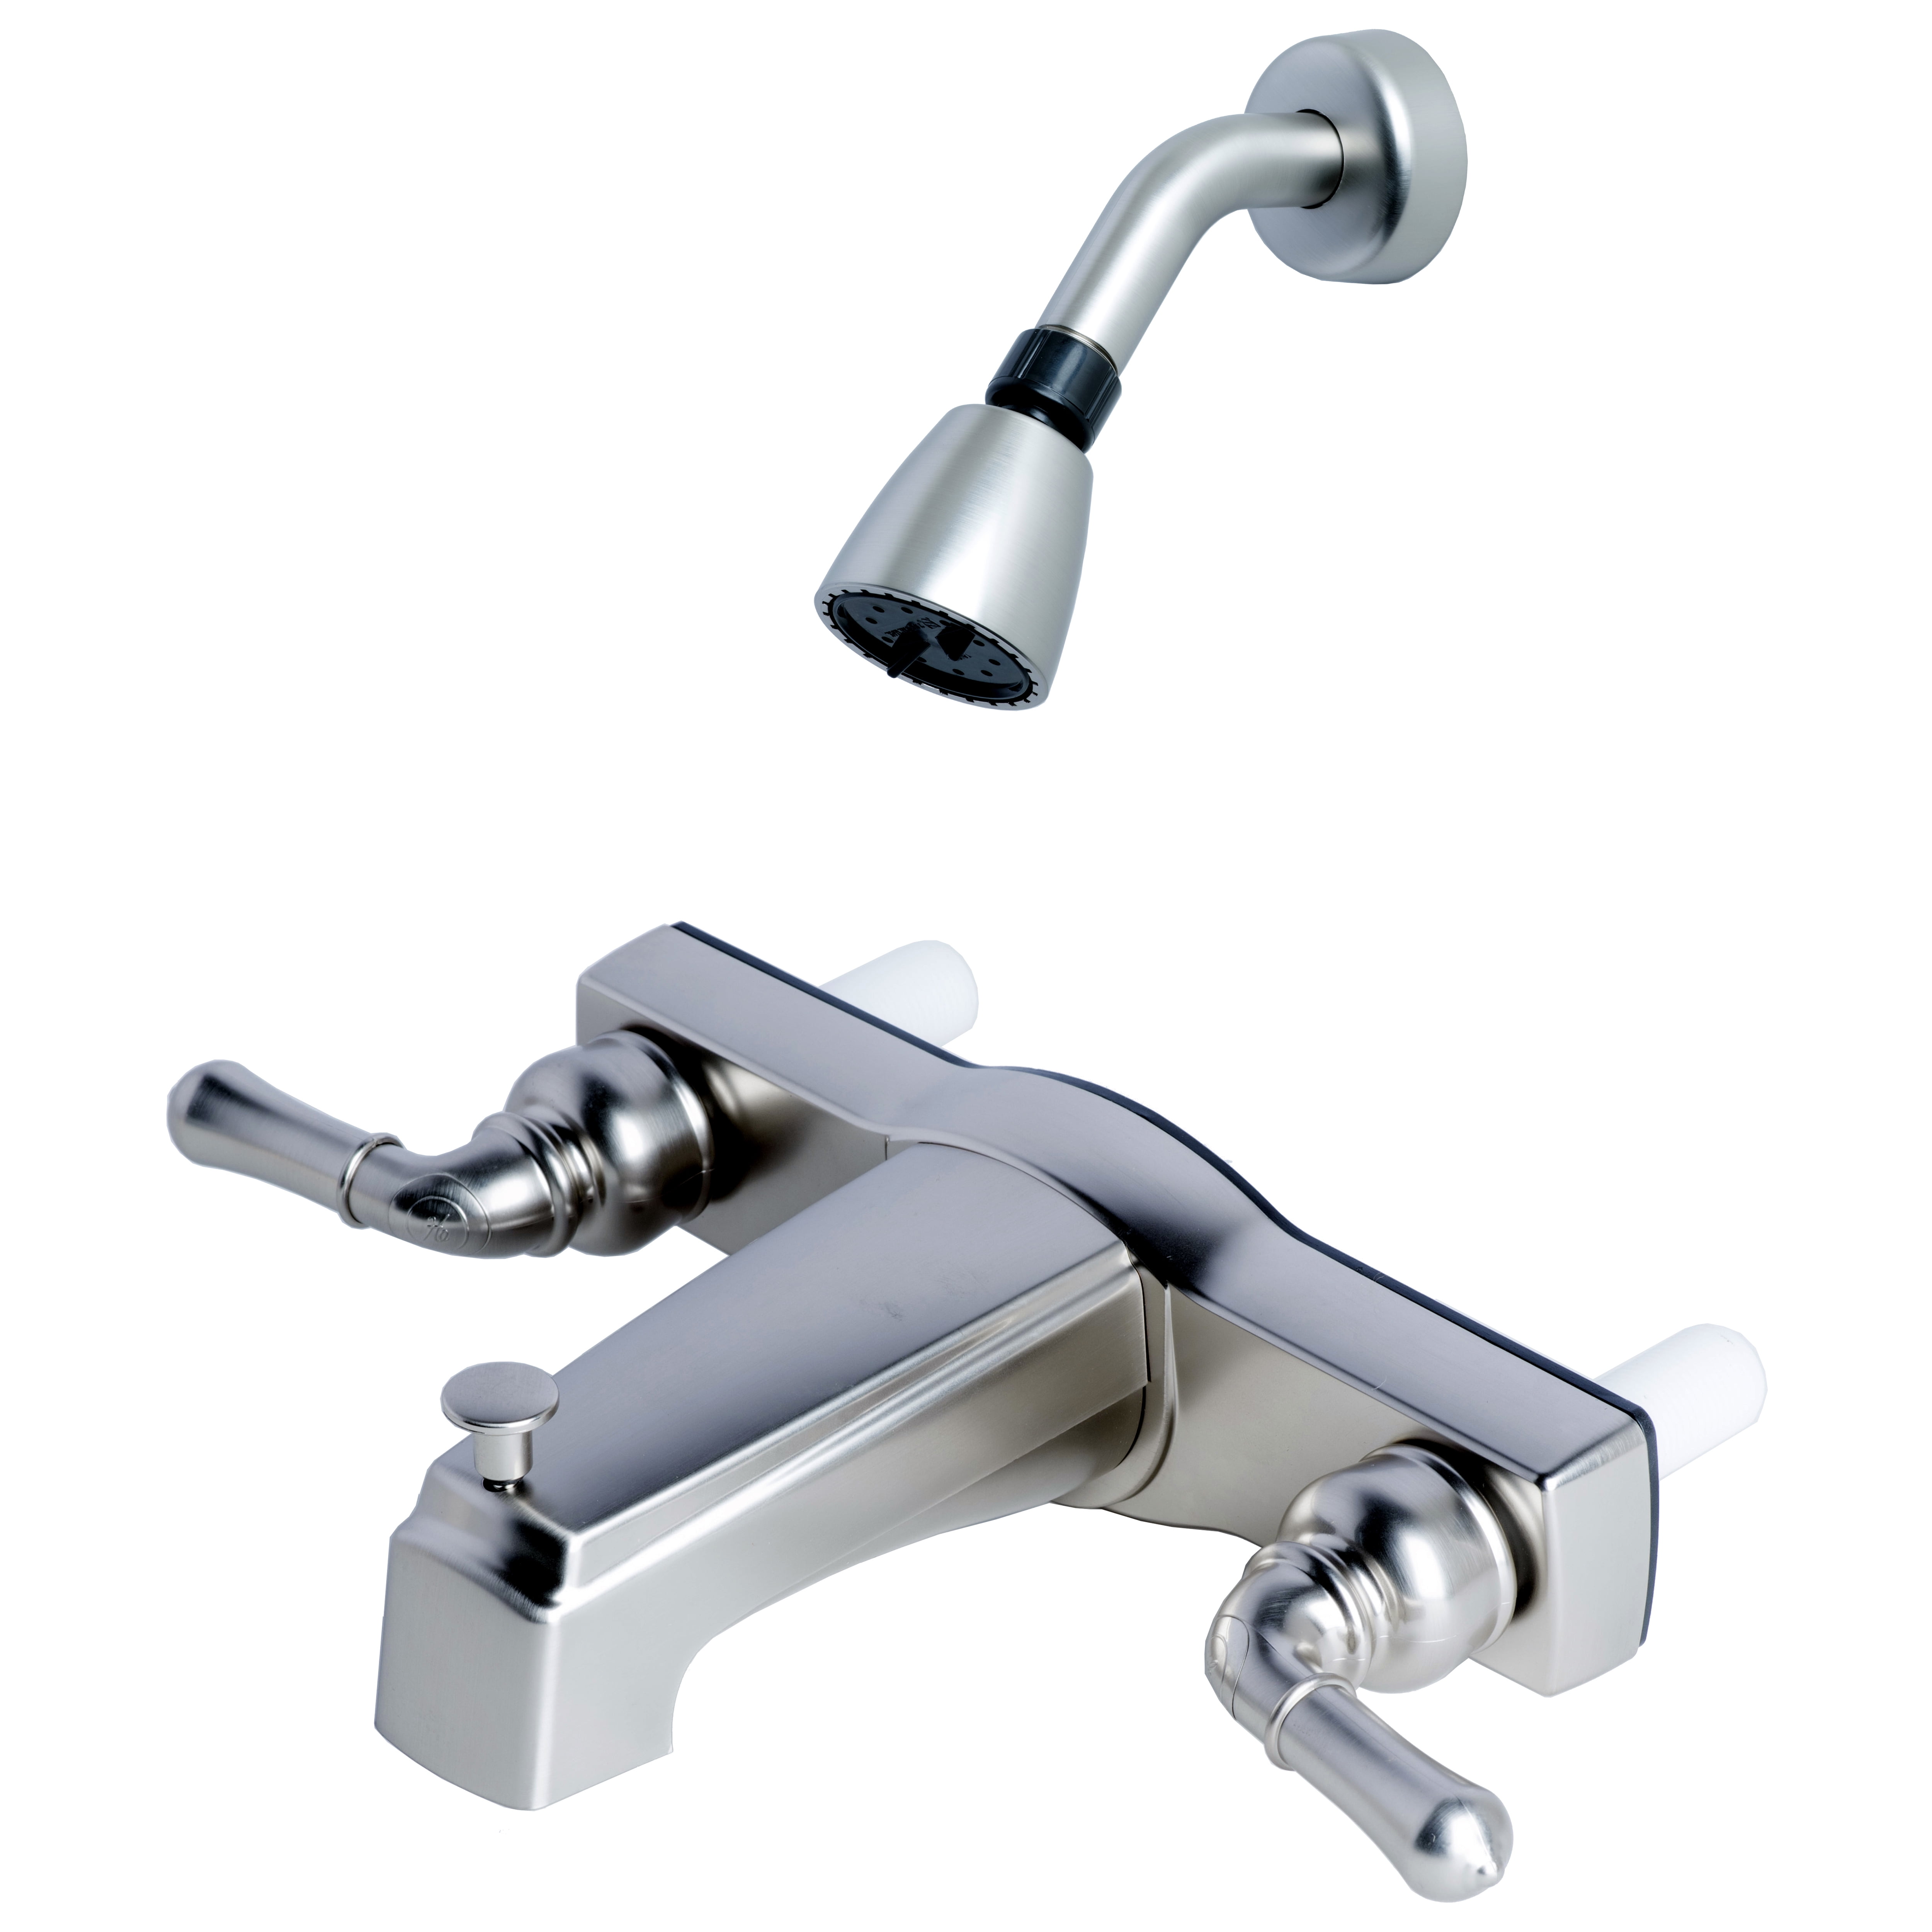
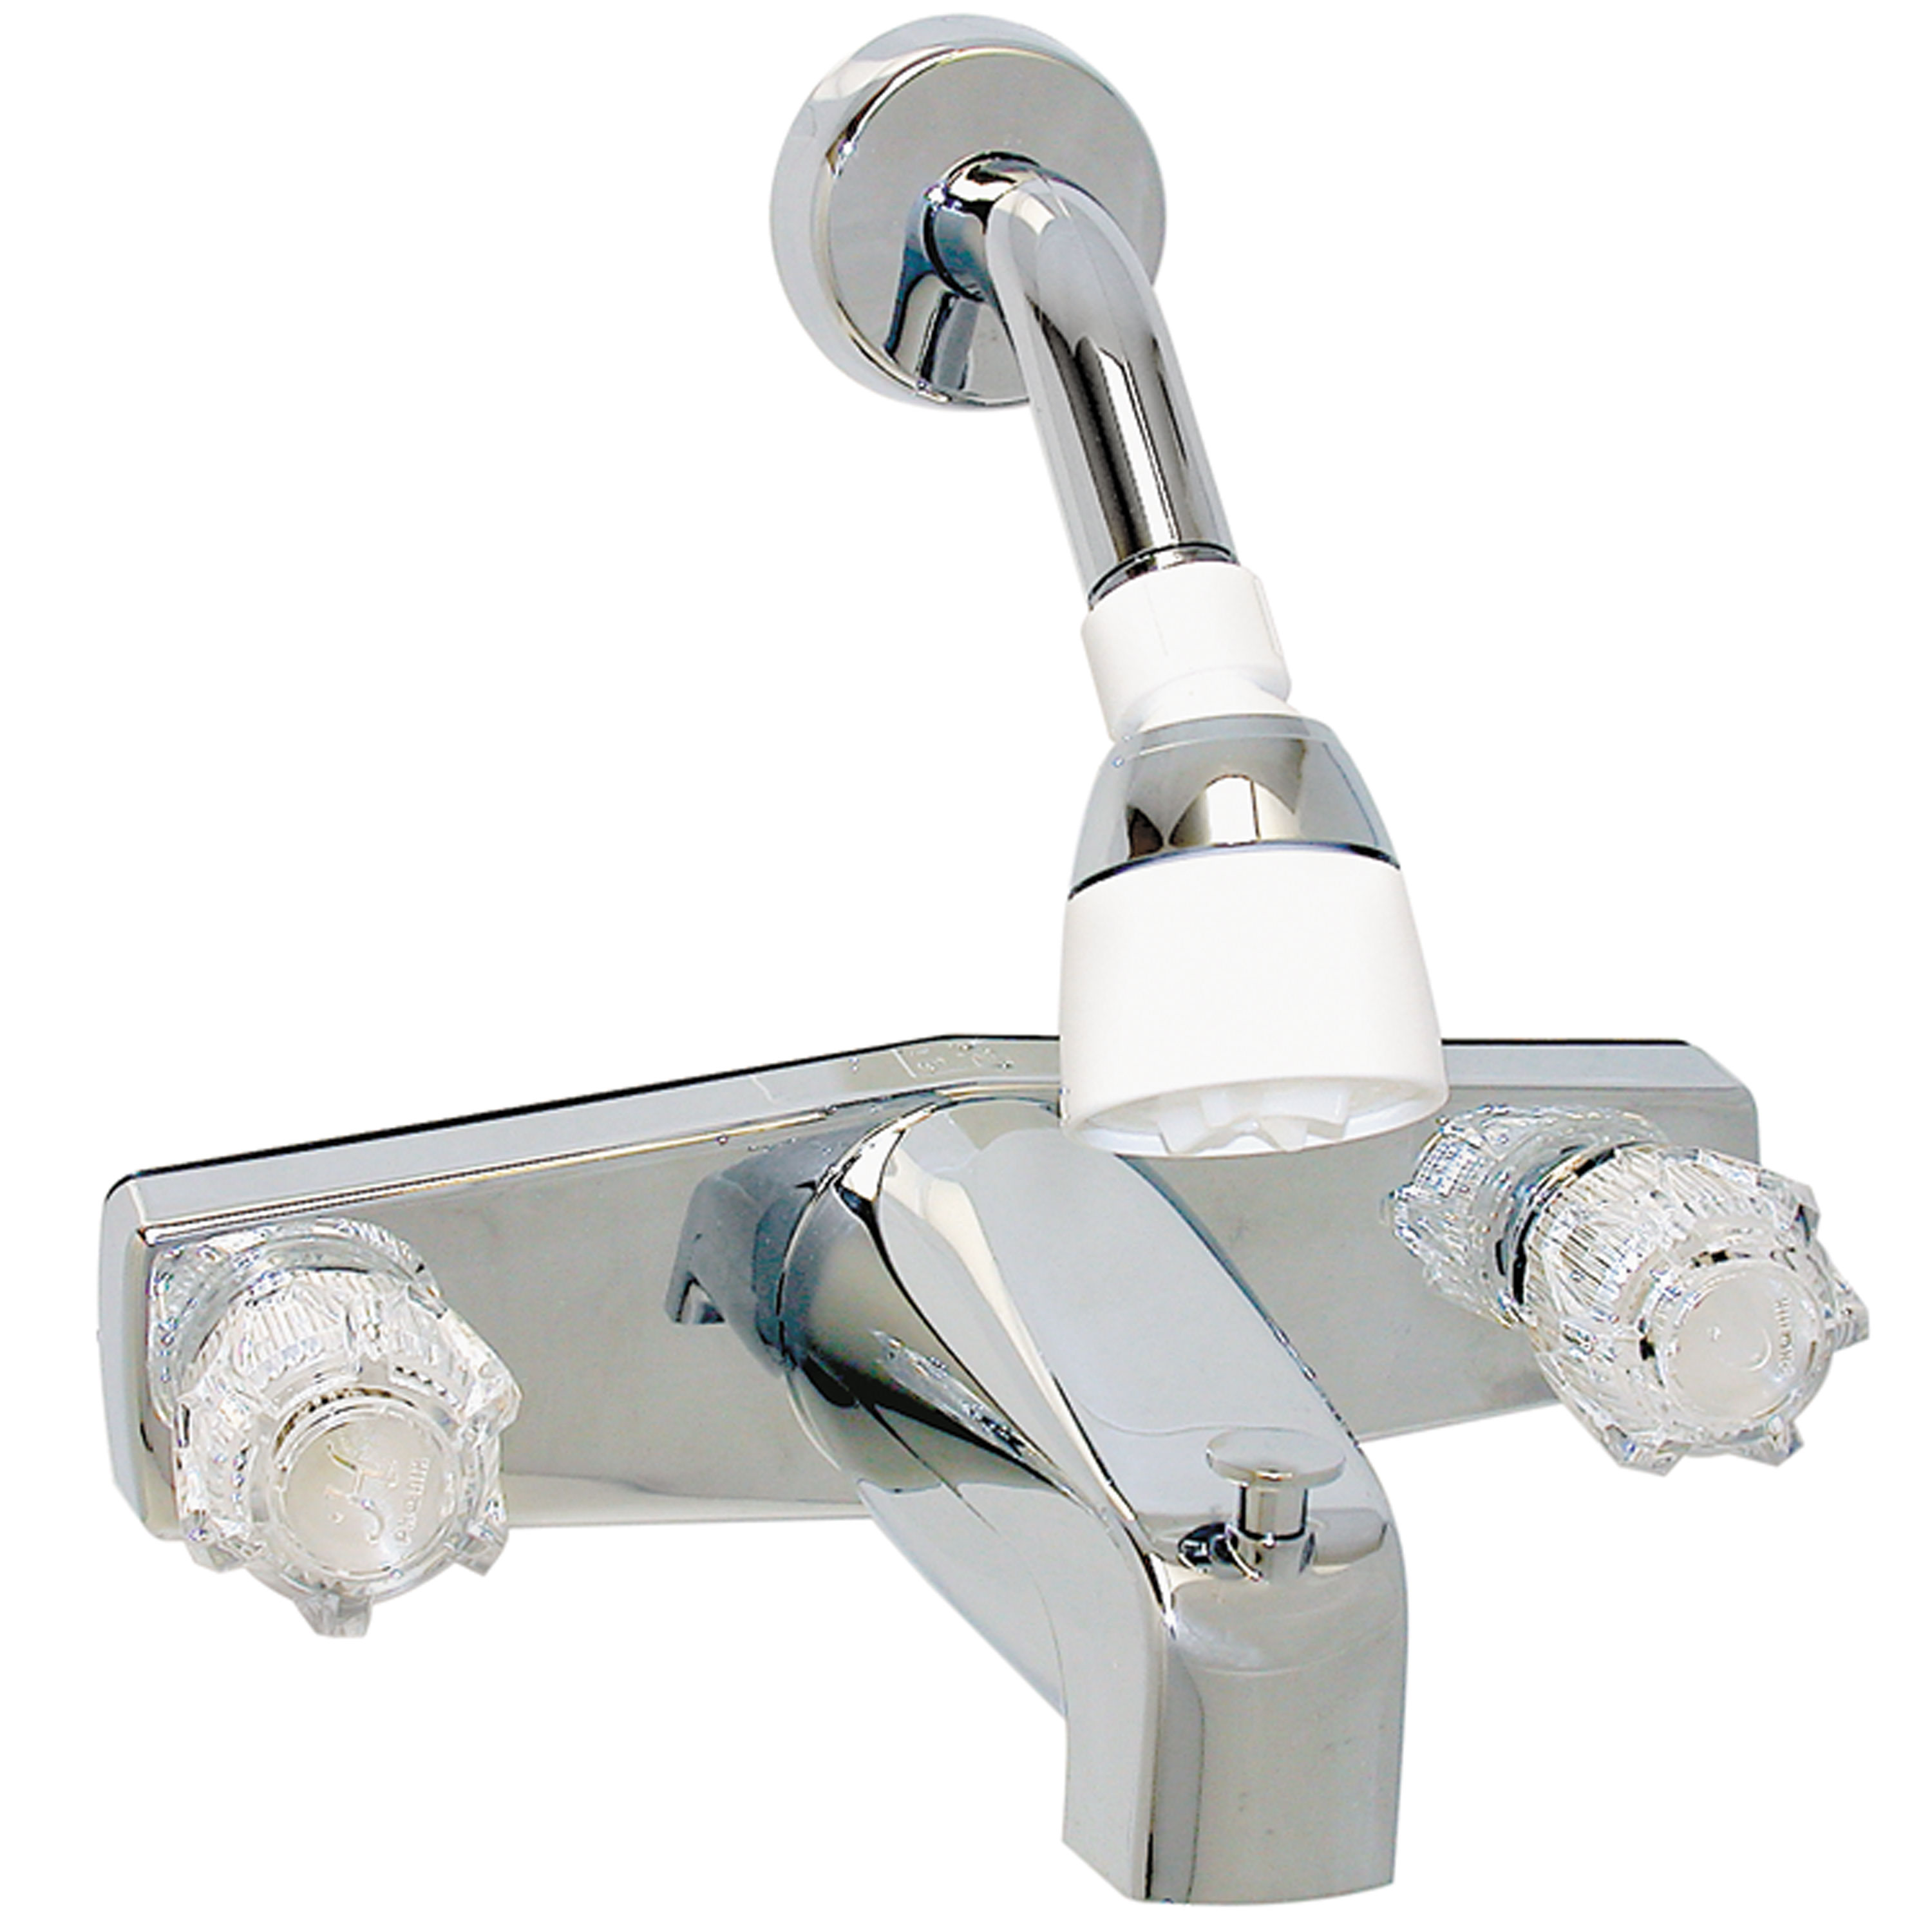
RV Bathroom Faucet with Shower Diverter

Let’s face it, RV bathrooms are a bit of a tight squeeze, but that doesn’t mean you have to sacrifice a luxurious shower experience. Enter the RV bathroom faucet with a shower diverter, your one-stop shop for both washing your hands and getting a refreshing rinse.
The shower diverter is a clever little mechanism that allows you to switch the water flow between the faucet spout and the shower head. It’s like a bathroom superhero, ensuring you can easily transition from washing your hands to taking a shower without having to fiddle with multiple valves.
Types of Diverter Mechanisms
The diverter mechanism is the heart of the system, and it comes in a variety of forms. Here’s a rundown of the common types and their quirks:
- Push-Button Diverter: This type is simple and straightforward. You simply push a button to switch between the faucet and the shower head. It’s often found on more budget-friendly models and is easy to operate.
- Lever Diverter: These diverter mechanisms utilize a lever that you move to direct the water flow. They’re typically found on more high-end faucets and offer a smooth and precise switching experience.
- Slide Diverter: This type features a sliding mechanism that you move to select the desired water flow. They are often found on faucets with multiple shower heads, allowing you to switch between different spray patterns.
Features and Design Elements
RV bathroom faucets with shower diverters come in a variety of designs and materials to suit different tastes and budgets. Here are some key features to consider:
- Materials: These faucets are typically made from durable materials like chrome, stainless steel, or nickel. Chrome is the most common choice for its affordability and resistance to corrosion. Stainless steel is a popular option for its sleek look and durability.
- Finishes: Finishes range from classic polished chrome to brushed nickel, black, and even matte finishes for a modern touch. The choice ultimately comes down to personal preference and the overall aesthetic of your RV.
- Handle Styles: Handle styles can vary from traditional cross handles to modern lever handles. Cross handles are often associated with a more classic look, while lever handles offer a more contemporary aesthetic.
Installation and Maintenance

Installing an RV bathroom faucet with a shower diverter might seem daunting, but it’s a DIY project that can be tackled with a bit of patience and a sprinkle of humor. It’s like assembling a miniature plumbing orchestra – each piece plays a vital role in creating a harmonious shower experience.
Tools and Materials
The right tools and materials are crucial for a successful installation. It’s like having the perfect instruments for your plumbing symphony.
- Wrench Set: You’ll need a variety of wrench sizes to loosen and tighten nuts and bolts.
- Adjustable Wrench: This handy tool allows you to adjust the grip to fit different sizes.
- Channel-Lock Pliers: These pliers are excellent for gripping and turning stubborn nuts and bolts.
- Plumber’s Tape: This tape helps to seal threaded connections, preventing leaks.
- New Faucet and Shower Diverter: The stars of the show! Choose a faucet and diverter that fit your RV’s plumbing system.
- New Supply Lines: These flexible hoses connect the faucet to the water supply.
- Tubing Cutter: Used to neatly cut the supply lines to the desired length.
- Safety Glasses: Protect your eyes from flying debris during the installation process.
Installation Steps, Rv bathroom faucet with shower diverter
Now, let’s dive into the installation process, a step-by-step guide to ensure a smooth and leak-free shower experience.
- Turn Off the Water Supply: The first step is to shut off the water supply to the RV. It’s like silencing the orchestra before the performance.
- Remove the Old Faucet and Diverter: Carefully remove the old faucet and diverter, paying attention to how they are connected. This is like removing the old instruments before setting up the new ones.
- Clean the Pipes: Clean any debris or sediment from the pipes. This ensures a clean and clear water flow. It’s like tuning up your plumbing instruments for optimal performance.
- Install the New Faucet and Diverter: Attach the new faucet and diverter, following the manufacturer’s instructions. This is like assembling the new instruments and placing them in their designated positions.
- Connect the Supply Lines: Connect the new supply lines to the faucet and diverter, ensuring they are securely fastened. It’s like connecting the new instruments to the water source.
- Turn On the Water Supply: Slowly turn on the water supply and check for leaks. This is like turning up the volume and listening for any unwanted sounds.
- Test the Faucet and Diverter: Run the water through the faucet and shower diverter, ensuring they function properly. This is like testing the new instruments to see if they play in harmony.
Maintenance
To keep your RV bathroom faucet and shower diverter in tip-top shape, a little maintenance goes a long way.
- Clean Regularly: Clean the faucet and diverter with a mild cleaner to prevent mineral buildup. It’s like wiping down your instruments after each performance to keep them sparkling.
- Check for Leaks: Regularly check for leaks around the faucet and diverter connections. It’s like checking for any loose connections or cracks in your instruments.
- Lubricate the Diverter: Lubricate the diverter mechanism with silicone grease to ensure smooth operation. This is like oiling the moving parts of your instruments to keep them running smoothly.
Choosing the Right Faucet: Rv Bathroom Faucet With Shower Diverter
Choosing the right RV bathroom faucet with a shower diverter is essential for a comfortable and functional bathroom experience. You want a faucet that provides adequate water pressure, a suitable flow rate, and a design that complements your RV’s interior. But with so many options available, how do you choose the best one? Let’s explore some factors to consider and compare popular brands and models.
Factors to Consider
When selecting an RV bathroom faucet with a shower diverter, consider these key factors:
- Water Pressure: RV water pressure can fluctuate, so a faucet that can handle low pressure is crucial. Look for a faucet with a pressure-balancing valve, which helps maintain a consistent water flow even when the pressure changes.
- Flow Rate: The flow rate determines how quickly water comes out of the faucet. A higher flow rate is desirable for a faster shower, but it can also lead to higher water consumption. Consider your water tank size and your desired shower experience.
- Design: Choose a faucet that complements your RV’s style and matches the overall aesthetic of your bathroom. You can find faucets in various finishes, from chrome to brushed nickel, and with different handle styles.
- Durability: RV bathroom faucets are subjected to constant use and potential wear and tear. Look for a faucet made from durable materials like stainless steel or brass, which can withstand the rigors of travel and use.
- Ease of Installation: Some faucets are easier to install than others. If you’re not comfortable with plumbing, choose a faucet with clear instructions and simple installation procedures. You can also consider hiring a professional plumber for installation.
Popular Brands and Models
Here’s a comparison of some popular RV bathroom faucet brands and models:
| Brand | Model | Features | Pros | Cons |
|---|---|---|---|---|
| Delta | Trinsic Single-Handle Bathroom Faucet with Shower Diverter | Pressure-balancing valve, single-handle design, multiple finishes, lifetime warranty | Durable, reliable, stylish | Can be expensive |
| Moen | Arbor Single-Handle Bathroom Faucet with Shower Diverter | Pressure-balancing valve, single-handle design, multiple finishes, lifetime warranty | Affordable, easy to install, good flow rate | Some models have reported issues with leaks |
| Kohler | Artifacts Single-Handle Bathroom Faucet with Shower Diverter | Pressure-balancing valve, single-handle design, multiple finishes, lifetime warranty | Elegant design, durable construction, good flow rate | Can be expensive |
| Pfister | Ashford Single-Handle Bathroom Faucet with Shower Diverter | Pressure-balancing valve, single-handle design, multiple finishes, lifetime warranty | Affordable, stylish, good flow rate | Some models have reported issues with durability |
Troubleshooting Common Issues

It’s inevitable that at some point, your RV bathroom faucet with shower diverter will need a little TLC. Whether it’s a stubborn leak, a clogged spout, or a diverter that’s gone rogue, knowing how to tackle these common problems can save you a lot of stress and frustration.
Leaks
Leaks are the most common issue you’ll encounter. They can happen in various locations, from the faucet spout to the showerhead, or even at the diverter itself.
- Faucet Spout: A leaky faucet spout often points to a worn-out washer or O-ring. These tiny parts can wear out over time, leading to leaks. A simple replacement usually solves the problem.
- Showerhead: Leaking showerheads often have a clogged aerator. Mineral deposits and debris can build up, restricting water flow and causing leaks. Cleaning or replacing the aerator can fix the issue.
- Diverter: A leaky diverter might indicate a worn-out seal or a broken diverter valve. Replacing the diverter valve or the seal should stop the leak.
Clogging
Clogged faucets and showerheads are a common annoyance. Mineral deposits, hair, and other debris can accumulate over time, leading to reduced water flow and even leaks.
- Faucet Spout: A clogged faucet spout can be addressed by removing the aerator and cleaning it. Soak the aerator in vinegar or a commercial descaler to dissolve mineral deposits. If the aerator is beyond repair, replace it with a new one.
- Showerhead: A clogged showerhead can be tackled similarly to a faucet spout. Remove the showerhead and soak it in vinegar or a descaler. You can also try using a needle or a small wire to clear any blockages. If the showerhead is severely clogged, consider replacing it.
Diverter Malfunction
A diverter that’s not working properly can be frustrating. It might not switch between the faucet and the showerhead, or it might leak when it’s supposed to be directing water to the showerhead.
- Diverter Valve: A malfunctioning diverter valve might need to be replaced. The valve might be worn out or broken, preventing it from properly switching the water flow.
- Diverter Seal: A worn-out diverter seal can cause leaks. Replacing the seal can solve the issue.
- Diverter Mechanism: Sometimes, the diverter mechanism itself can get stuck or jammed. Cleaning or lubricating the mechanism might help restore its function.
Enhancing Your RV Bathroom Experience
Your RV bathroom, though compact, can be a sanctuary of comfort and style. With a few smart ideas and a touch of creativity, you can transform your tiny space into a haven of relaxation. Let’s explore some tips to make your RV bathroom a delightful oasis.
Maximizing Space and Storage
Small spaces call for clever solutions. Here are some tips to make the most of your RV bathroom:
- Vertical Storage: Utilize the vertical space by installing shelves, hanging organizers, or using stackable containers. This maximizes storage without taking up valuable floor space.
- Over-the-Door Organizers: These are a lifesaver for storing toiletries, towels, and other essentials, keeping everything within reach and out of sight.
- Foldable Storage: Opt for foldable storage bins or baskets that can be tucked away when not in use, freeing up space.
- Wall-Mounted Accessories: Instead of bulky countertop items, choose wall-mounted soap dispensers, toothbrush holders, and towel racks to save precious space.
Creating a Spa-Like Experience
Who says you can’t have a luxurious spa experience in your RV bathroom? Here’s how to create a relaxing ambiance:
- Soft Lighting: Replace harsh overhead lights with soft, warm bulbs or install dimmable LED strips for a soothing atmosphere.
- Aromatherapy: Diffuse essential oils like lavender or eucalyptus to create a calming and refreshing scent.
- Luxury Towels: Invest in plush, absorbent towels to add a touch of indulgence.
- Plants: Add a small, low-maintenance plant like a spider plant or snake plant to bring a touch of nature and freshness to your bathroom.
Improving Functionality
A few strategic upgrades can make your RV bathroom more functional and user-friendly:
- Shower Diverter: A shower diverter allows you to switch seamlessly between the showerhead and the faucet, providing versatility for washing your hair or filling a basin.
- Handheld Showerhead: A handheld showerhead offers greater flexibility and reach, making it easier to rinse off and clean the shower stall.
- Non-Slip Mat: A non-slip mat in the shower stall can prevent accidents, especially when the floor is wet.
- Mirror with Storage: Choose a mirror with built-in storage compartments to maximize space and keep your toiletries organized.
